Do you want to add WooCommerce trust badges to the checkout page? If you are looking for a simple method, keep reading this article.
Since CoD (Cash on Delivery) is not an ideal option for most WooCommerce stores, they integrate any payment gateway like PayPal or Stripe to collect payments for orders. However, some people are still hesitant to use their credit cards on a website when this is convenient.
However, showing a trust badge on the checkout page will make people feel more confident. This blog post will teach you how to do this. However, WooCommerce doesn’t come with this feature by default.
We need to add the trust badge manually. Here, we will show you the best method to add WooCommerce trust badges on the checkout page.
But first, let’s see why you should add trust badges to the WooCommerce checkout page.
Why You Should Add Trust Badges to WooCommerce Checkout Page
Adding trust badges to your WooCommerce checkout page can significantly enhance the perceived reliability of your online store.
Trust badges are small icons or seals that indicate security, authenticity, or customer approval, which can reassure visitors that their transactions are safe and that your brand is credible. Firstly, trust badges are a visual cue that your site is secure.
With the rise of cyber threats, such as data breaches and identity theft, customers are increasingly cautious about where they enter personal information.
Badges like SSL certificates, Norton Secured, or McAfee Secure signal to customers that their data is encrypted and protected, potentially reducing cart abandonment due to security concerns.
Secondly, these badges can boost conversion rates. When shoppers see that third-party entities have verified a site for quality or customer satisfaction, their confidence in purchasing increases.
For instance, displaying badges from well-known review platforms like Trustpilot or Google Customer Reviews can leverage social proof and show new customers that others have had positive experiences with your store.
Now you know why you should add trust badges to WooCommerce checkout. The next section will show you the popular method you can follow.
Best Practices to Use Trust Badges in WooCommerce
When you’re adding trust badges to your WooCommerce store, keep these things in mind:
- Select Relevant Trust Badges: Choose trust badges that resonate with your audience’s concerns, whether security, payment options, or product guarantees. For security, consider badges like Norton Secured or McAfee Secure, while badges from Visa or PayPal might be suitable for payment.
- Placement Matters: Position trust badges where they are most impactful. The checkout page is crucial, but consider placing them on product pages, especially below the “Add to Cart” button or within the product description. They should be visible but not distracting.
- Use Customization Wisely: Using a plugin like Merchant or Flux Checkout for WooCommerce, use customization features to match the badges with your site’s aesthetic. This can make your site appear more professional and cohesive.
- Ensure Authenticity: Only display trust badges you’ve legitimately earned or can use. Misusing badges can lead to distrust rather than building it. Consider third-party endorsements like those from the Better Business Bureau or industry-specific certs.
- Educate Your Customers: Use tooltips or pop-ups to explain what each badge means if it’s not immediately clear to your visitors. For example, clicking on a security badge could show details about your SSL certification or data protection policies.
How to Add Trust Badges to WooCommerce Checkout Page
Here, we will add a simple PHP snippet to the website to display the trust badge.
Since we are dealing with coding, we recommend using a site-specific plugin like Code Snippets or making all the modifications on your child theme’s functions.php file.
For this tutorial, we will use the code snippets plugin. To use it, you need to install and activate the plugin. Then, create a new snippet and paste some code.
The code you need to use is:
add_action( 'woocommerce_after_cart_totals', 'yay_display_trust_seal_image_in_cart_page' );

function yay_display_trust_seal_image_in_cart_page() {
// Get the trust seal image URL.
$trust_seal_image_url = 'https://res.cloudinary.com/do2y26dyd/image/upload/v1696840366/Trust_Seal_pkd8kn.png';

// Display the trust seal image.
echo '<img src="' . $trust_seal_image_url . '" alt="Trust seal" width="100%"/>';
}
Once you have pasted the code, you can activate it.
Now, go to your website’s checkout page. You’ll see a badge on the cart page.
As you can see in this image, the badge will be displayed under the button. If you need to show it above the button, use this code:
add_action( 'woocommerce_proceed_to_checkout', 'yay_display_trust_seal_image_in_cart_page' );

function yay_display_trust_seal_image_in_cart_page() {
// Get the trust seal image URL.
$trust_seal_image_url = 'https://res.cloudinary.com/do2y26dyd/image/upload/v1696840366/Trust_Seal_pkd8kn.png';

// Display the trust seal image.
echo '<img src="' . $trust_seal_image_url . '" alt="Trust seal" width="100%"/>';
}
Now, if you need to display it on the checkout page, use this code:
add_action( 'woocommerce_review_order_after_payment', 'yay_display_trust_seal_image_on_checkout_page' );
function yay_display_trust_seal_image_on_checkout_page() {
// Get the trust seal image URL.
$trust_seal_image_url = 'https://res.cloudinary.com/do2y26dyd/image/upload/v1696840366/Trust_Seal_pkd8kn.png';
// Display the trust seal image.
echo '<img src="' . $trust_seal_image_url . '" alt="Trust seal" />';
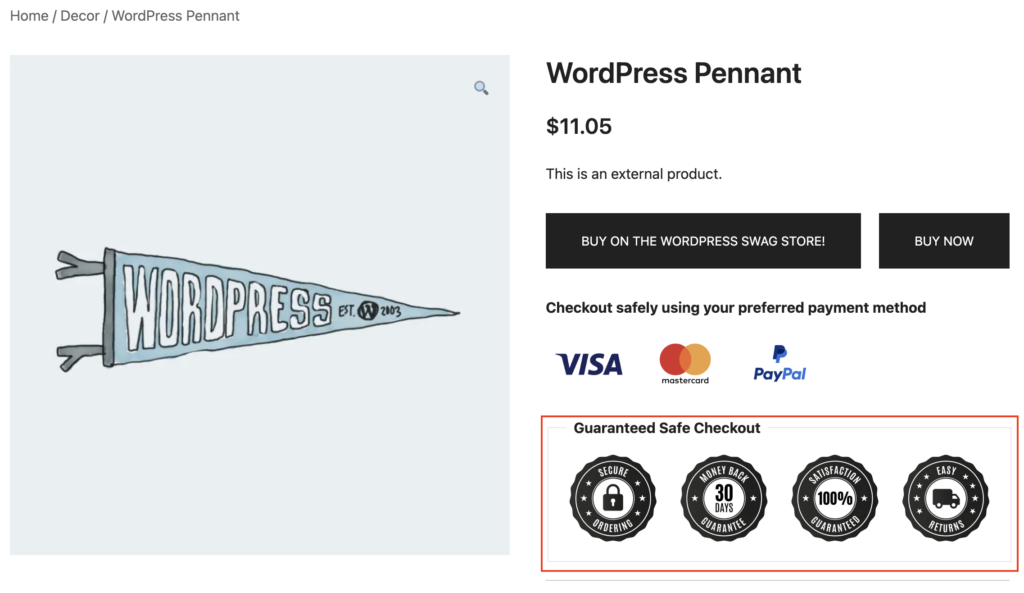
}On the front end, it will look like this:
If you need to change the badge image, you can tweak the URL in the code and replace it with your custom badge URL.
This is how you can use coding to display trust badges.
Frequently Asked Questions
Next, let’s look at some of the popular questions and answers regarding this topic.
Can I use custom trust badges, or must I use only those from recognized providers?
Custom badges can highlight unique aspects of your service, such as free returns. However, complement these with well-known security badges from providers like Norton or Trustpilot for maximum trust.
Where should I place trust badges on my WooCommerce checkout for maximum impact?
Place them near the payment information fields or right before the “Place Order” button to reassure customers before they commit. For consistent trust messaging, consider adding them in the cart summary or footer.
Will adding trust badges to my checkout page affect the loading speed of my WooCommerce site?
It could, especially if the images are large or not optimized. Compress your badge images, consider lazy loading, and ensure external scripts load asynchronously to minimize speed impact. Test your site’s performance after adding the badges to confirm.
Conclusion
Adding trust badges to your WooCommerce checkout page is a strategic move to bolster customer confidence and enhance the shopping experience.
These badges act as silent ambassadors of security and reliability, helping to bridge the trust gap that often exists in online transactions.
By showcasing that your site is secure, backed by customer reviews, or affiliated with trusted payment methods, you can reduce cart abandonment, increase conversion rates, and ultimately foster a loyal customer base.
We highly recommend adding a trust badge to your online store.
Which method would you use?
Let us know in the comments.
Check out this page if you want video content instead of written tutorials.